The Arrangement area helps you organize and control the tracks, note groups, and instrumental tracks on the project. Align audios, arrange note groups, and name individual tracks on the Arrangement area.
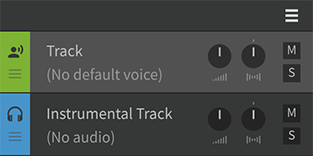
Types of tracks available:
- Vocal Tracks: This track is used to create and edit vocals. It contains notes and various parameters, as well as settings for the voice database.
- Instrumental Tracks: These tracks can be used to load and play audio files. Waveforms are displayed on the timeline.
¶ Basic Track Operations
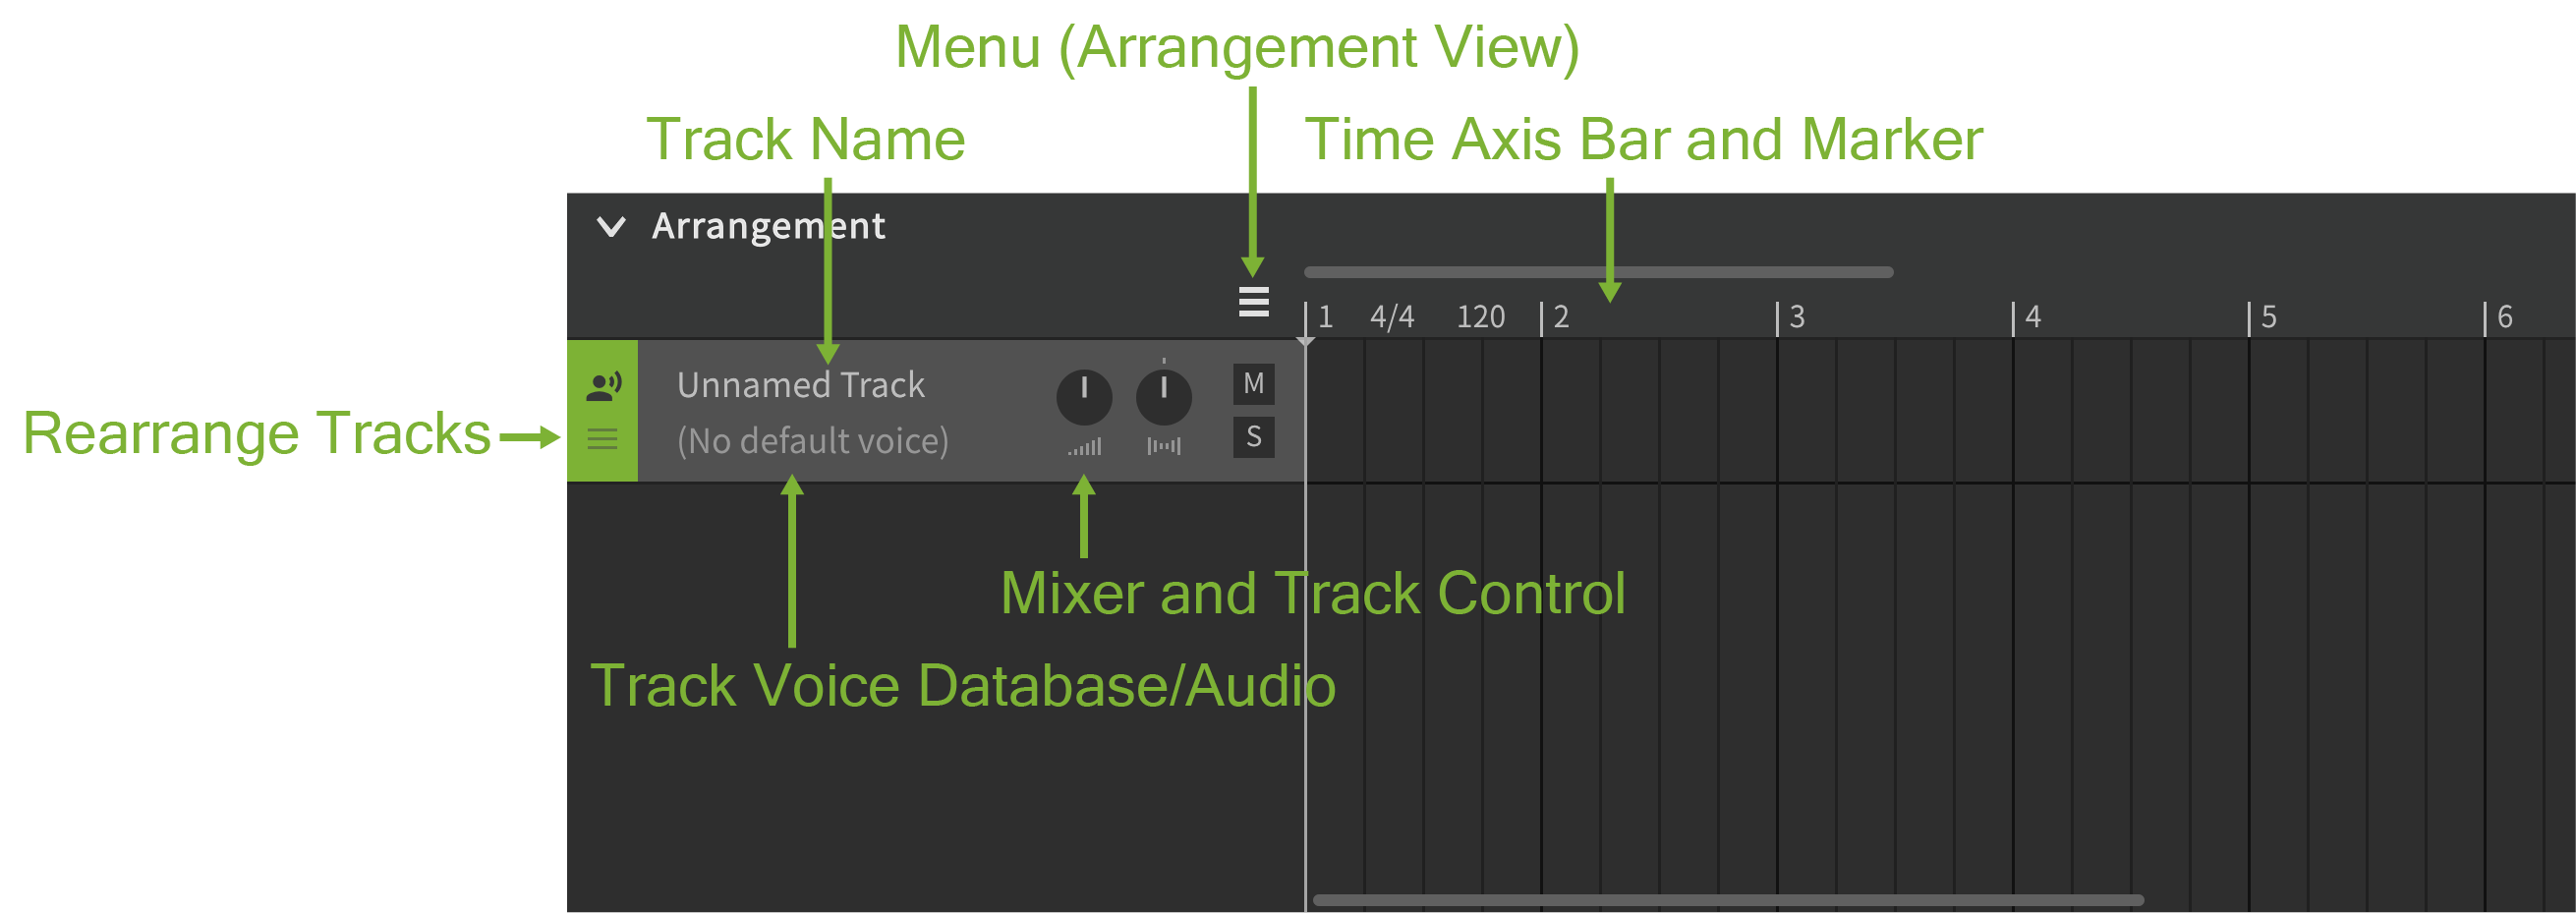
- Track name: Allows you to view and change the names of tracks and instrumental tracks.
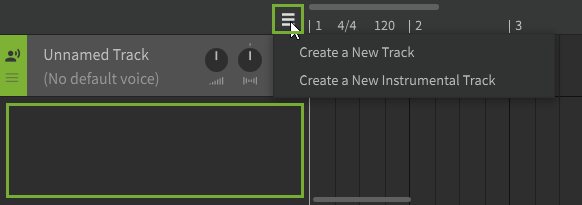
- Menu (Arrangement View): Displays the menus available in the track area. New tracks can be created here.
- Time Axis Bar and Marker: Displays the time axis and time signature/tempo symbols for the project.
Edit and create time signature/tempo markers on the time axis. - Rearrange Tracks: Rearrange the tracks by dragging them up and down.
- Current Default Voice/Audio: Displays the voice database currently loaded on the track or the audio loaded on the instrumental track.
Click here to select vocals or change the audio. - Mixer and Track Control: Here you can adjust the volume and panning of the track. Mute and Solo buttons are also located here.
¶ Vocal Tracks
¶ Create a Vocal Track
Click the MENU button on the Arrangement area (or right-click on an empty space below the project's tracks) and select [Create a New Track].
¶ Select a Voice Database
Click on the track's voice database name (or [No default voice] if not selected) and select the database you want to use.
Only installed products will appear on the list. You can change the track's voice database at any time.
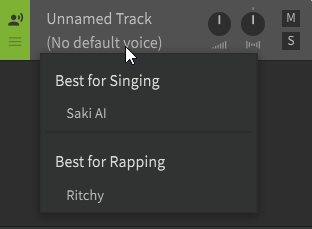
There are two types of voice databases: Best for Singing and Best for Rapping.
Any voice database can be used in both singing and rapping mode.
The voice database selected will be the default voice database for note groups placed in the track.
¶ Select a Track
You can operate the selected track in the Piano Roll area.
- Click on the empty space in the track header.

- Double-click on the empty space of the track in the Arrangement area.

¶ Placing and Moving Note Groups
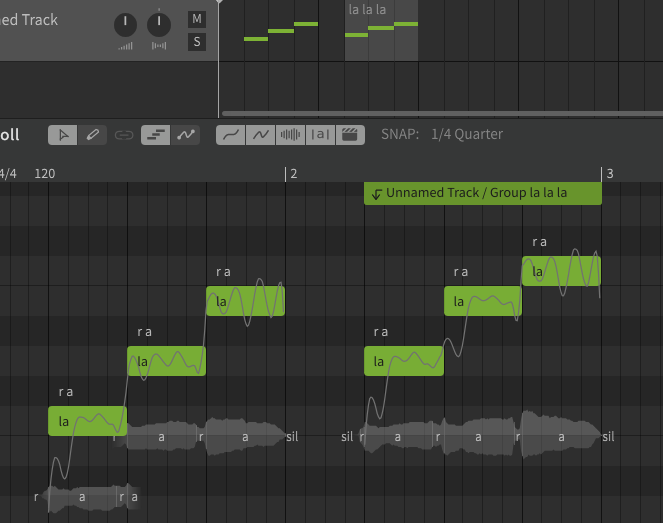
In addition to creating notes directly in a track using the Piano Roll, you can also place "note groups".
See "Note Groups" for details.
¶ Placing Note Groups
Select an existing note group in the Library panel and drag it to the Arrangement area.
¶ Moving Note Groups
Move note groups by dragging them. Note groups can also be moved to other tracks.
¶ Instrumental Tracks
Audio formats such as WAV, FLAC, and OGG are available for the instrumental track.
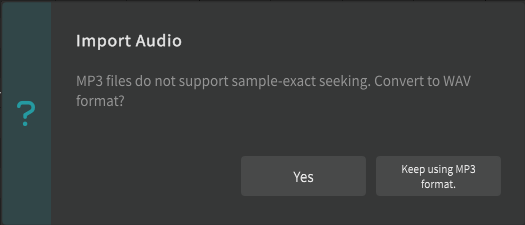
MP3 files can also be imported, but you can choose to convert them to WAV format upon import, since using them on MP3 may result in playback timing errors.
¶ Create a New Instrumental Track
- Click the MENU button on the Arrangement area (or right-click on an empty space below the project's tracks) and select [Create a New Instrumental Track].

In the [Choose instrumental audio file] dialog, select the file you wish to import and click [Open]. - Alternatively, locate the audio file you want to open in Explorer (Windows)/Finder (Mac) and drag the file into the Synthesizer V Studio window.
¶ Selecting an Audio
- Click on the Audio File Name on the instrumental track and select the file you want to use.

¶ Editing Audio
¶ Moving
- Move the audio by dragging it. If multiple audio files are selected, they will move together.
- Holding Ctrl + Alt/Command + Option while dragging will move the audio without snapping to the grid.
¶ Changing the Length
Drag the start or the end of the audio to change its length.
If the track quantize is set, the audio will snap to the grid lines of the closest measure.
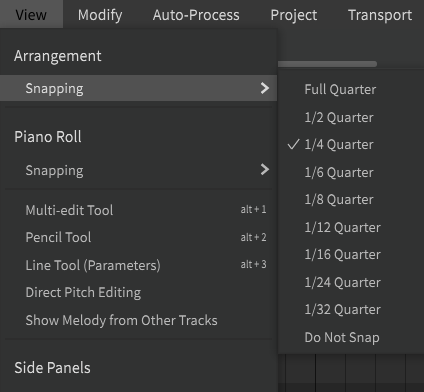
The width of the grid lines can be set by going to [View] > [Arrangement] > [Snapping] on the Menu bar.
¶ Voice-to-MIDI Conversion Function
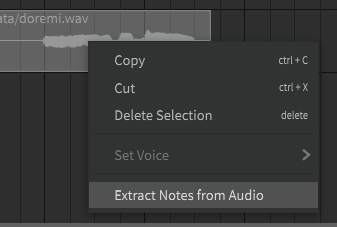
Extract pitch and lyrics from audio and convert it to notes.
See "Voice-to-MIDI conversion" for more details.
¶ Duplicate a Track
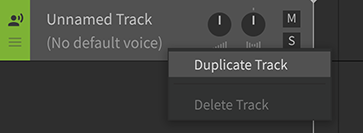
Right-click on the empty space in the track header and select [Duplicate Track].
¶ Rename Track
Double-click on the track name and enter a new name.

¶ Change Track color
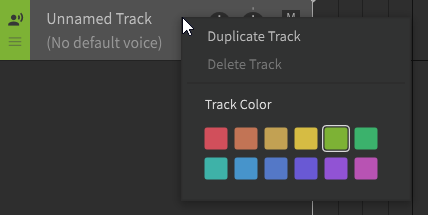
Right-click on the empty space in the track header and select a new track color.
¶ Reorder Tracks
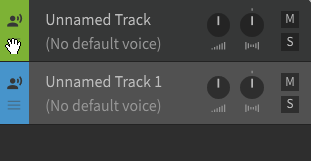
Drag the handle at the bottom left of the track to rearrange the order in which tracks are displayed.
¶ Adjust Volume
- Drag the volume knob of the track. Or, place the mouse cursor over the volume knob and rotate the mousewheel.
- Reset the volume knob by double-clicking on it.

¶ Adjust Panning
- Drag the pan knob on the track. Or, place the mouse cursor over the pan knob and rotate the mouse wheel.
- Reset by double-clicking on the pan knob.

¶ Mute a Track
- Clicking the Mute button on a track will mute the sound of that track. Click again to unmute.

¶ Solo a Track
- Clicking a track's Solo button will cause only the soloed track to be played. Click again to un-solo.

¶ Delete Track
- Right-click on the empty space in the track header and select [Delete Track].

