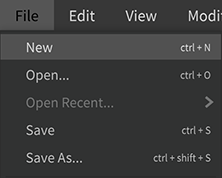
Various settings from Synthesizer V Studio are on the Settings panel.
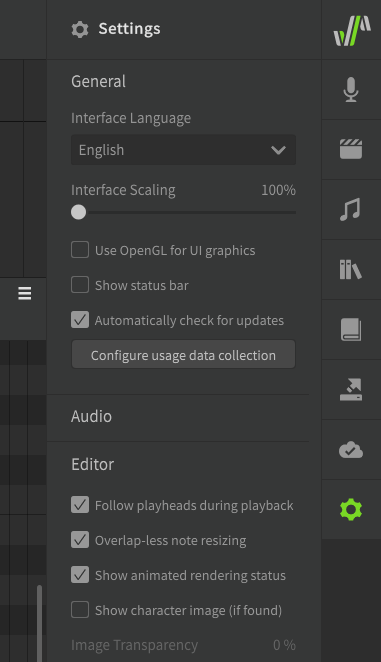
These settings are automatically saved when exiting Synthesizer V Studio. Deleting the settings file will return all settings to their default values, and a new settings file will be created the next time Synthesizer V Studio is started.
The settings file is saved as "settings.xml" in the following location.
- Windows: C:\Users\< username >\Documents\Dreamtonics\Synthesizer V Studio\settings
- macOS: Macintosh HD/Library/Application Support/Dreamtonics/Synthesizer V Studio/settings
¶ General Settings
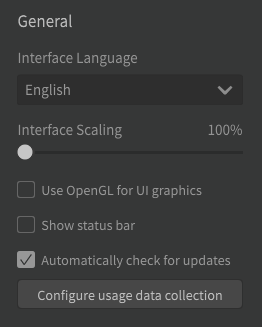
- Interface Language: Sets the language to be displayed in the interface. For untranslated languages, translated text is available here.
- Interface Scaling: Sets the scale of the interface, from 100% to 150%, with a default value of 100%.
- Use OpenGL for UI graphics: Checking this box will result in smoother rendering of the editor screen, but may cause unstable operation on some hardware.
- Show status bar: Displays a status bar at the bottom of the screen to show editing status and descriptions about the control the mouse is over.
- Automatically check for updates: Displays a dialog box at startup to indicate if there are any updates available.
¶ Configure Usage Data Collection
Synthesizer V Studio collects usage data to improve the software.
The data collected are only those displayed on the "Telemetry Consent" that you have agreed to, and no personally identifiable information is collected.
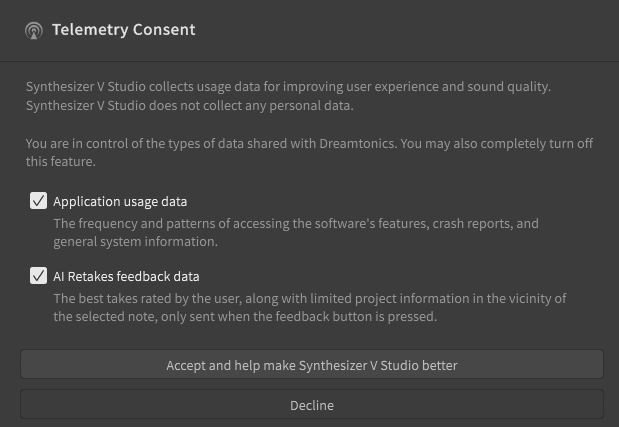
- Software usage data: Frequency and pattern of accessing the software's features, crash reports and general system information is sent.
- AI Retakes feedback data: The best takes rated by the user, along with limited project information in the vicinity of the selected note, only sent when the feedback button is pressed.
The collected feedback is used for "RLHF (Reinforcement Learning from Human Feedback)" to generate more natural and expressive pitches.
¶ Audio Settings
Sets the audio that will be played on the editor.
- Channel Placement (plugin version only): Sets the audio channels to be output to the DAW. For more details, see "Linking to DAW with plugin".
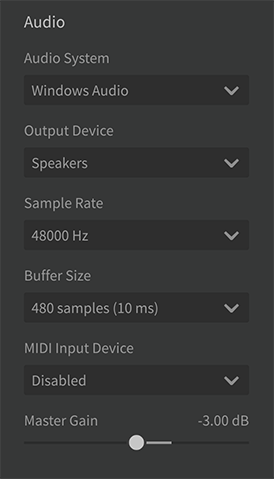
- Audio System: Set the audio system to be used; in the Pro version, you can also select ASIO (Windows only) or JACK (Linux only) for less latency.
- Output Device: Select the audio output device to be used. The output devices that can be selected depend on the audio system settings.
- Sample Rate: Select the sample rate. The selectable sample rate depends on the output device settings.
- Buffer Length: Set the buffer length.
- MIDI Input Device: Sets the MIDI input device to be used, see "Using a MIDI keyboard" for details on how to use the MIDI input device.
- Master Gain: Sets the volume for monitoring. Can be set between -12 and 6 dB, default value is -3 dB.
¶ Editor Settings
-
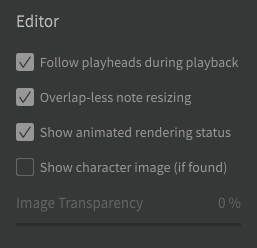
Follow playheads during playback: Auto-scrolls the screen during playback.
-
Overlap-less note resizing: When adjusting the length of a note, overlapping notes will be shortened to avoid overlap.
-
Show animated rendering status: Shows rendering progress by highlighting animation of audio waveforms.
-
Show character image (if found): Displays a background illustration of the character if one is included in the voice database.
-
Image Transparency: Sets the transparency of the character image from 0-100%. The default value is 50%.
-
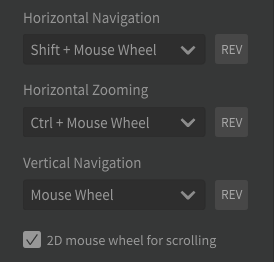
Horizontal Navigation: Sets the horizontal scrolling operation method. Default is "Shift + Mouse Wheel". The direction can be reversed with the [REV] button.
-
Horizontal Zooming: Sets how horizontal zooming is operated. Default is "Ctrl/Command + Mouse Wheel". The direction can be reversed with the [REV] button.
-
Vertical Move: Sets how the vertical scrolling is operated. Default is "Mouse Wheel". The direction can be reversed with the [REV] button.
-
2D mouse wheel for scrolling: Allows the horizontal scrolling function of the touchpad or a mouse that supports horizontal scrolling.
-
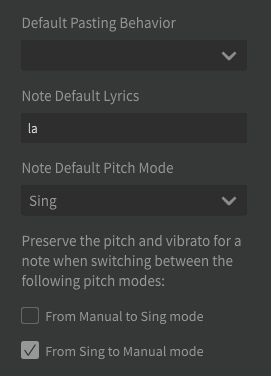
Default Pasting Behaviour: Sets the position for pasting notes and control points.
-
¶ About paste patterns (click to open/close)
There are two types of pasting patterns
- Paste at the playhead: Paste the content you want to paste so that it starts at the current playhead position.
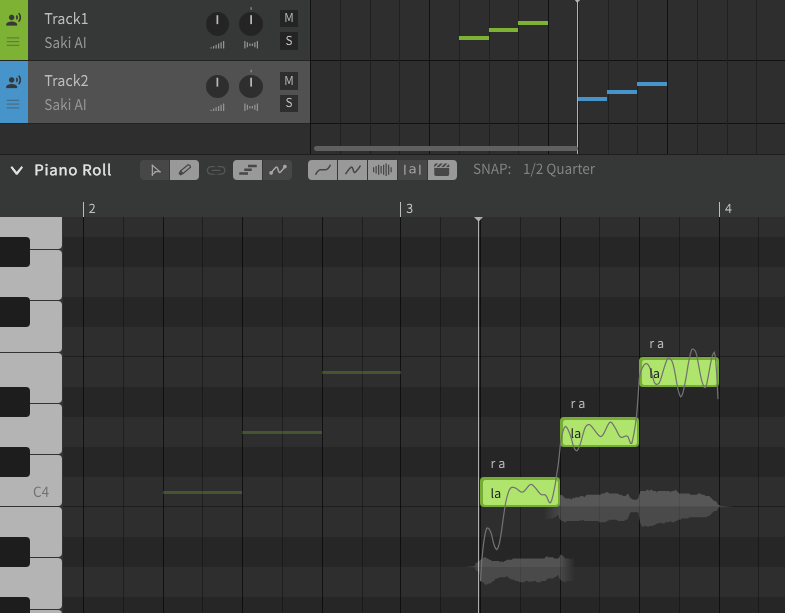
- Paste while keeping the on-screen position: Paste based on the position from the left edge of the Piano Roll screen. The paste position can be determined by scrolling horizontally on the screen without changing the playhead position. This is also useful when pasting to another Track.
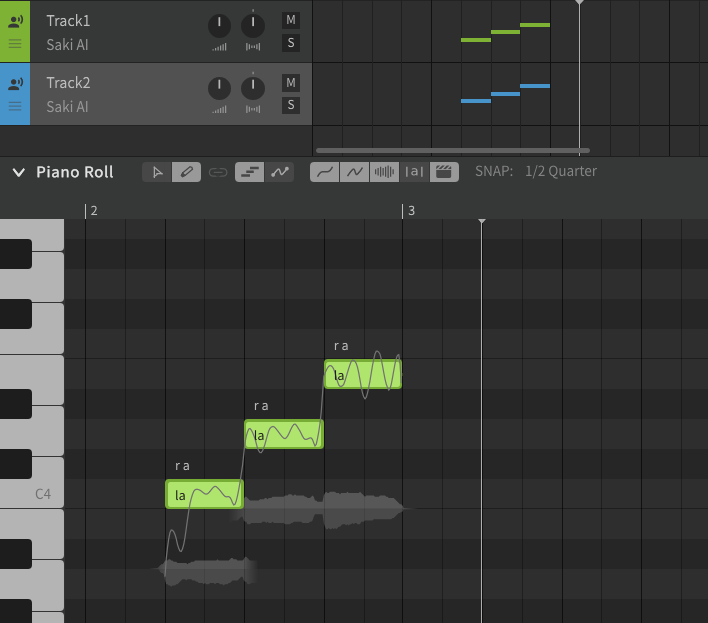
- Paste at the playhead: Paste the content you want to paste so that it starts at the current playhead position.
- Note Default Lyrics: Sets the default lyrics when creating notes.
- Note Default Pitch Mode: Sets the default pitch mode when creating notes.
- Preserve the pitch and vibrato for a note when switching between the following pitch modes: Maintains the previous pitch curve when switching note pitch modes.
For more information on pitch mode, see "Edit Pitch Curve".
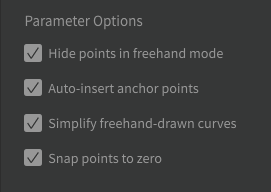
- Hide points in free hand mode: When using the pencil tool in direct pitch editing mode or in the Parameter Panel, the control points are not displayed, only the curve.
- Auto-insert anchor points: When double-clicking to add a control point, the control point is automatically added to the edge of the note so that it does not affect other notes.
- Simplify freehand-drawn curves: After drawing a curve using the Freehand tool, the parameters are automatically simplified to reduce the number of control points.
- Snap points to zero: Snaps control points around 0 when moving them vertically.
¶ Recording Settings (Pro Version Only)
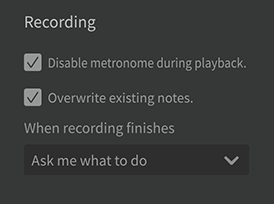
- Disable metronome during playback: Enables metronome only during recording input via MIDI device and disables during playback, even if metronome in transport control is on. Unchecking enables the metronome during playback.
- Overwrite existing notes: Adjusts existing notes by deleting or shortening them so that they do not overlap with existing notes during recording. If unchecked, notes will remain overlapping.
- When recording finishes: Sets about quantization of notes when recording is terminated.
¶ Rendering Settings
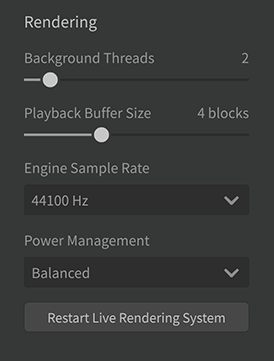
- Background Threads (Pro version only): Sets the number of threads used for live rendering. When a project has multiple tracks, a higher value will result in faster rendering; it can be set between 1 and 12, with the default value depending on the number of CPU cores in the device.
- Playback Buffer Size: Sets the length of the buffer during playback. The larger the buffer, the more stable playback will be, but it will take longer for playback to reflect edits made to the project. 2 to 8 blocks are available; the default value is 4 blocks.
- Engine Sample Rate: The internal sample rate used by the synthesis engine for live rendering. The default value is "44100 Hz".
- Power Management: Sets the power consumption during live rendering. Default is "Balanced"; setting to "High Performance" will increase rendering speed.
¶ Keyboard Settings
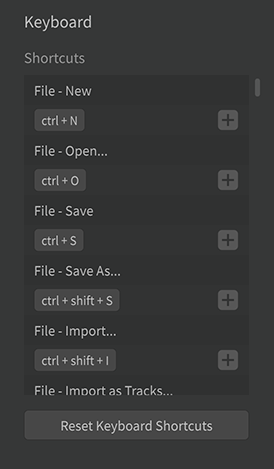
- Shortcuts: View and customize keyboard shortcuts.
Registered shortcuts are displayed in the menu.
